


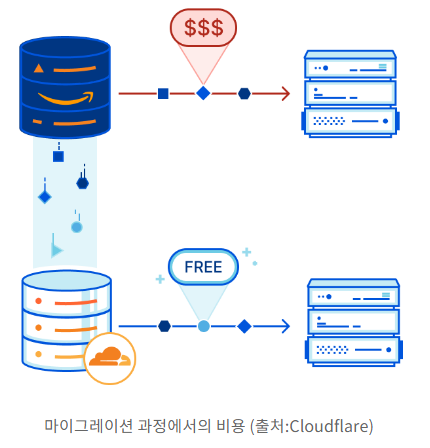
R2를 쓰는 이유
- 송신 수신 수수료가 없다. (Free)
- AWS S3와 완벽 호환된다. (Compatibility)
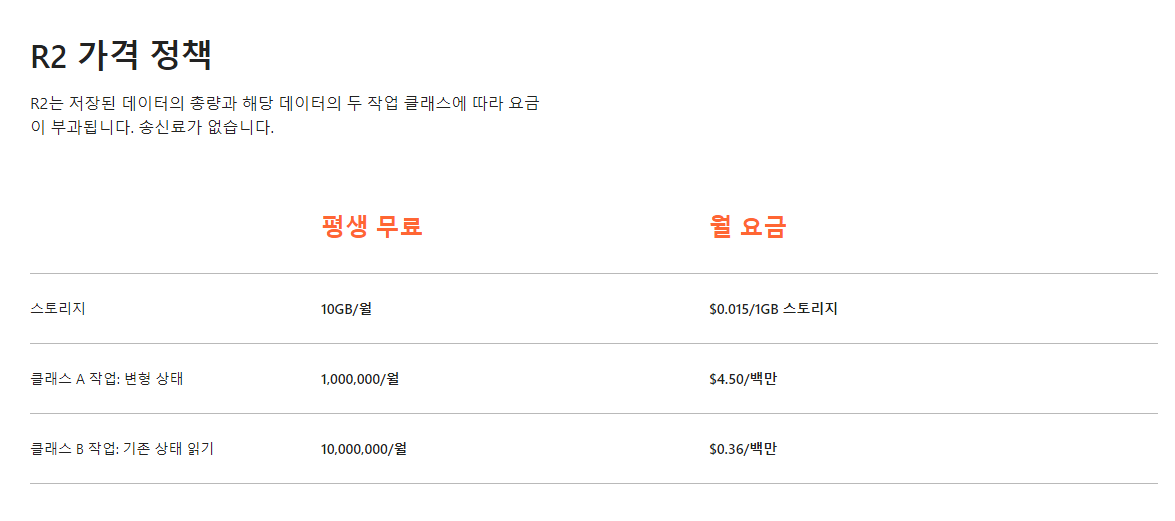
- 저장된 데이터 1GB당 월 $0.015 가격이 부과된다. (Low Price)
- API 요청 횟수당 비용 청구 없다. (Free)
- 10GB 까진 평생 무료이다. (Free)
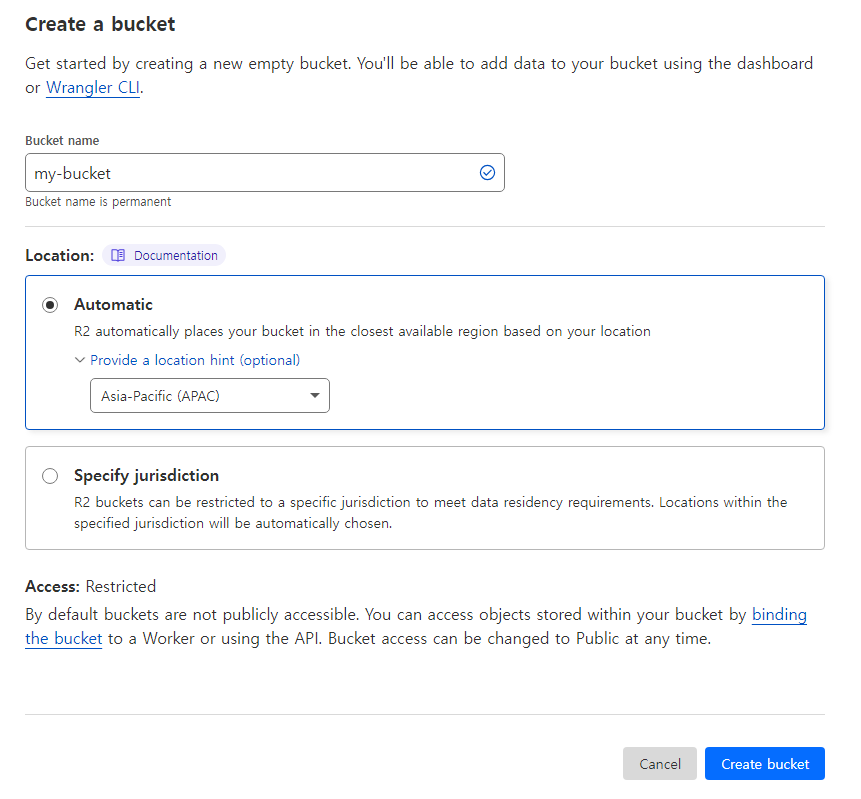
Bucket 생성
- 본인이 사용할 Bucket을 생성해준다.
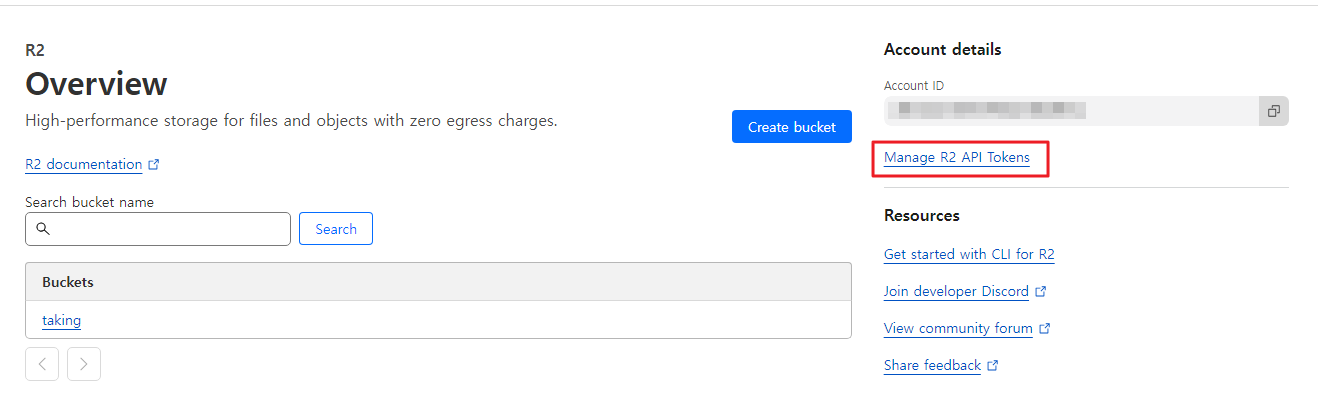
R2 API Tokens 발급
- R2 사용 시 필요한 API Token을 발급 받는다.
- 어짜피 개인 서버의 백업을 위해서니 보안도 생각해서 특정 IP에서만 접근 가능하도록 제한해두었다.

- 발급 받은 Access Key ID, Secret Access Key는 기억해두자. 다음부턴 다신 만날 수 없다.
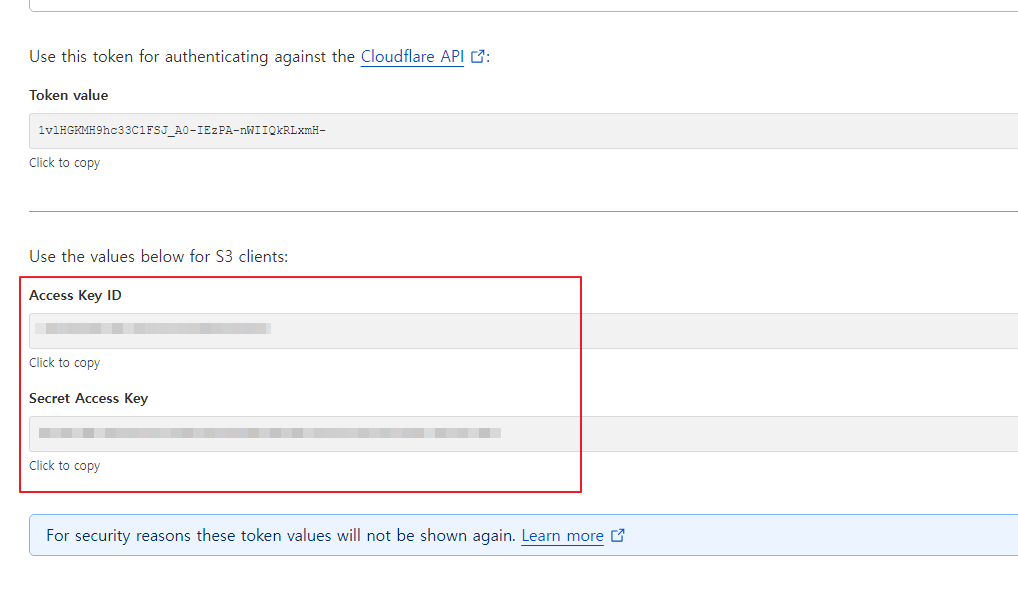
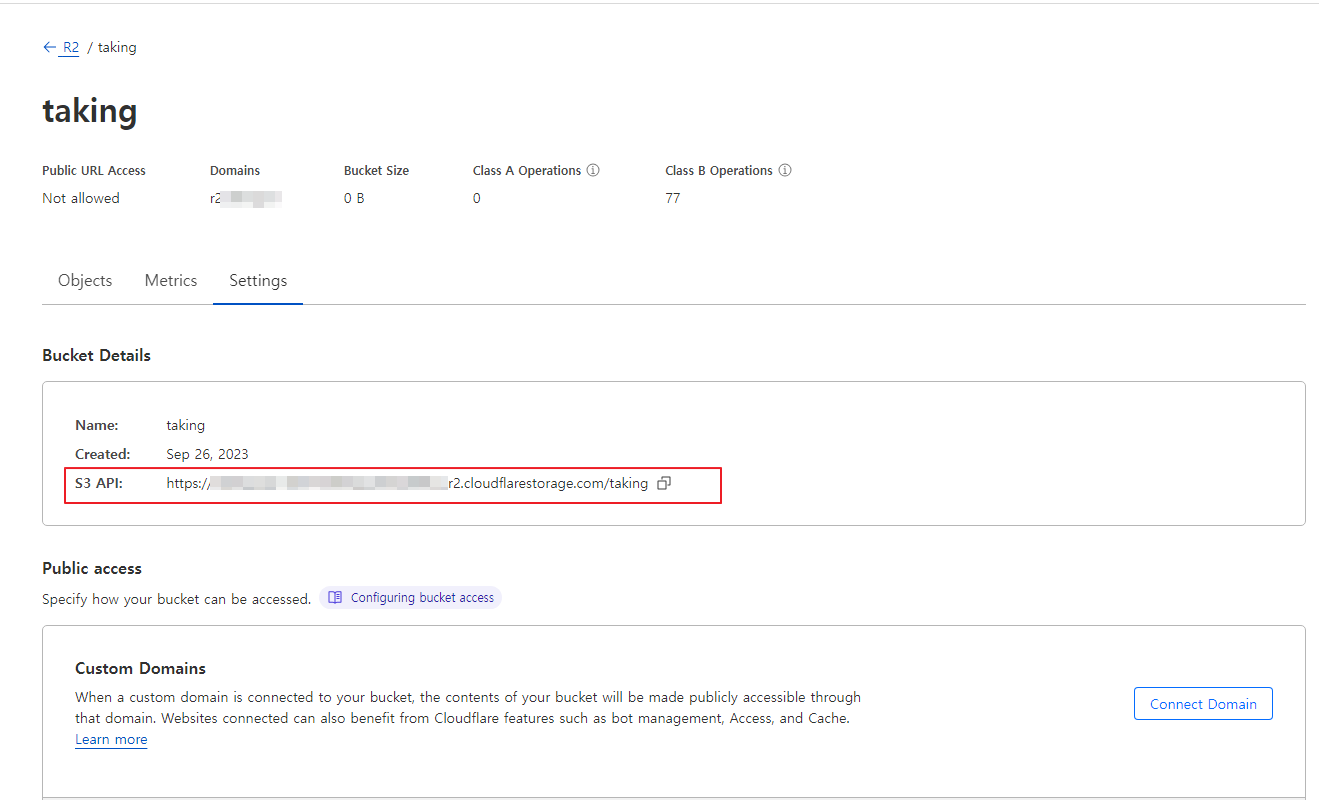
- 접근을 위한 S3 API 도 기억해두자.
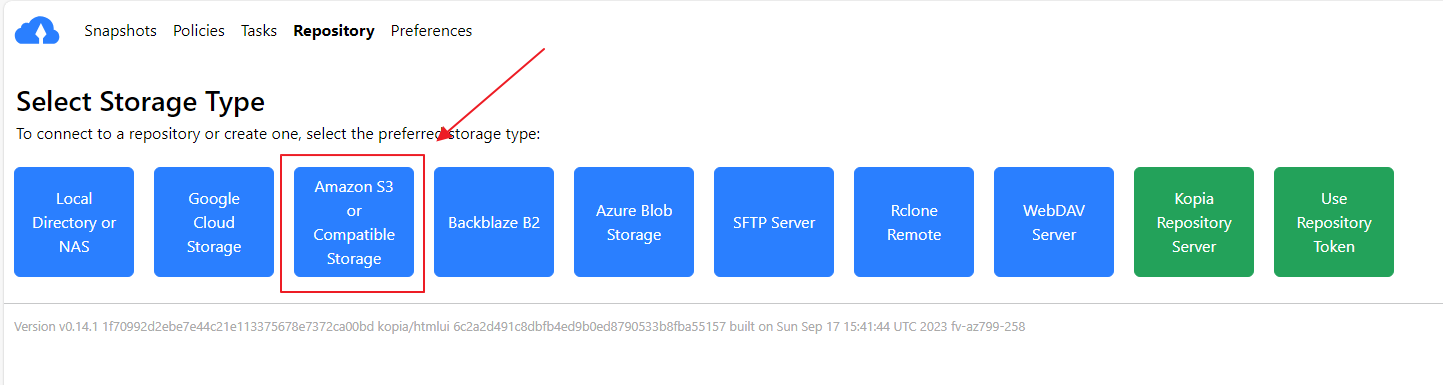
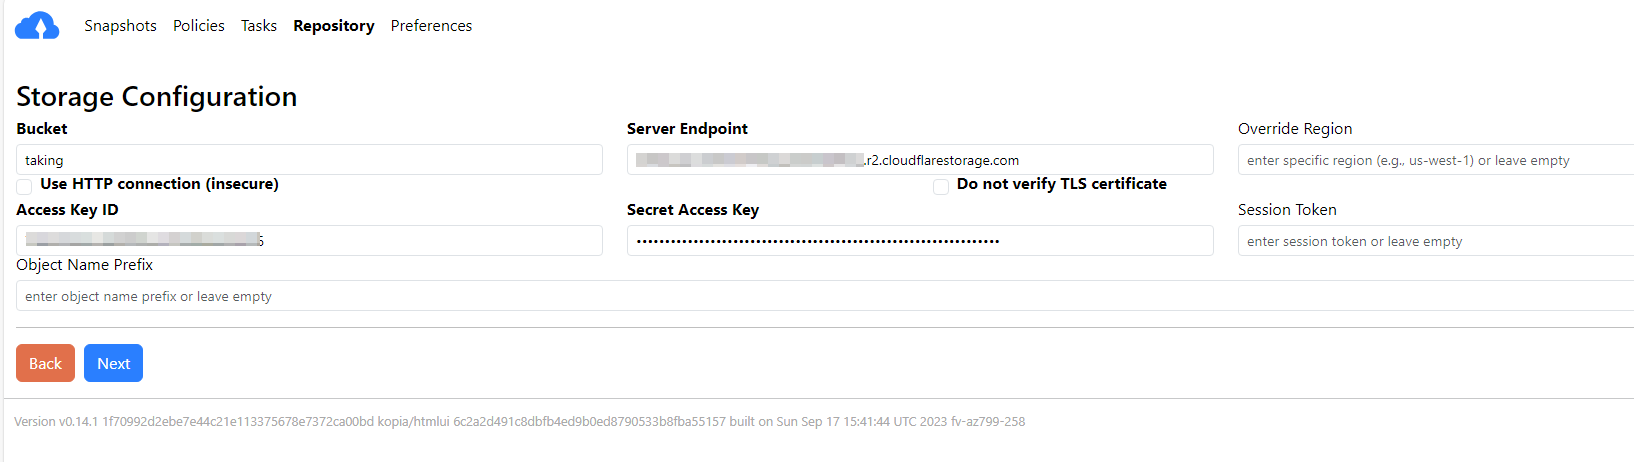
Kopia Backup Software 설치 및 설정
Docker-compose.yml
version: '3.7'
services:
    kopia:
        image: kopia/kopia:latest
        hostname: ubuntu-20
        container_name: Kopia
        restart: unless-stopped
        ports:
            - 51515:51515
        # Setup the server that provides the web gui
        command:
            - server
            - start
            - --disable-csrf-token-checks
            - --insecure
            - --address=0.0.0.0:51515
            - --server-username={yourId}
            - --server-password={yourPass}
        environment:
            # Set repository password
            KOPIA_PASSWORD: "{yourPass}"
            USER: "{yourId}"
        volumes:
            # Kopia 폴더 마운트
            - ./kopia_data/config:/app/config
            - ./kopia_data/cache:/app/cache
            - ./kopia_data/logs:/app/logs
            # 백업할 데이터 폴더 마운트
            - /volume/1TB_NVME/:/data:ro
            # Repository 폴더 마운트 (Cloudflare R2 config 저장 폴더)
            - ./backup/repository:/repository
            # Mount path for browsing mounted snaphots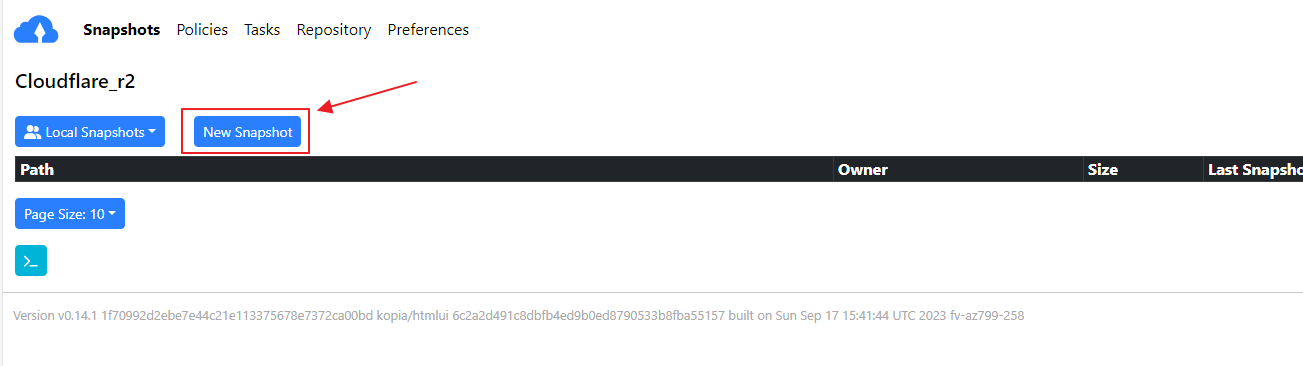
- ./backup/tmp:/tmp:shared- http://127.0.0.1:51515 접속하여 로그인

- 다음 명령어를 통해 repository 연결 여부를 확인할 수 있음
docker exec -it Kopia /usr/bin/kopia --config-file=/app/config/repository.config repository status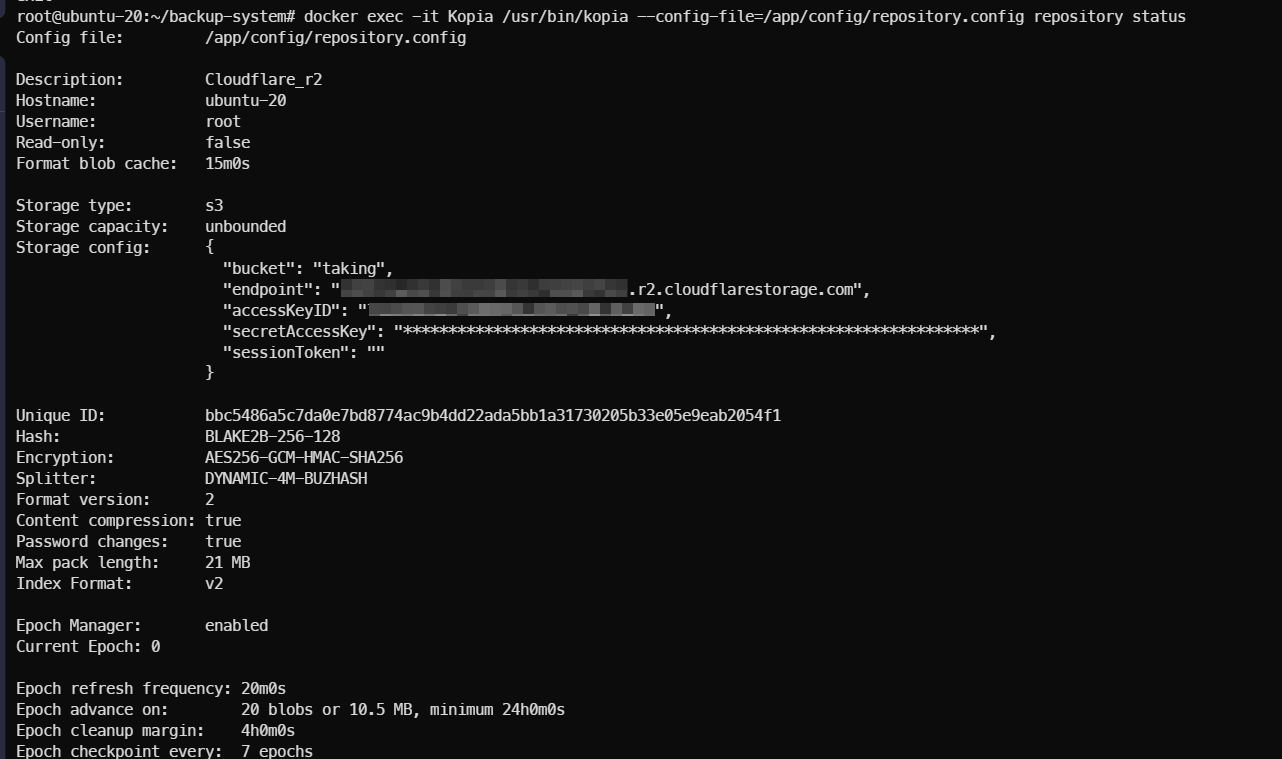
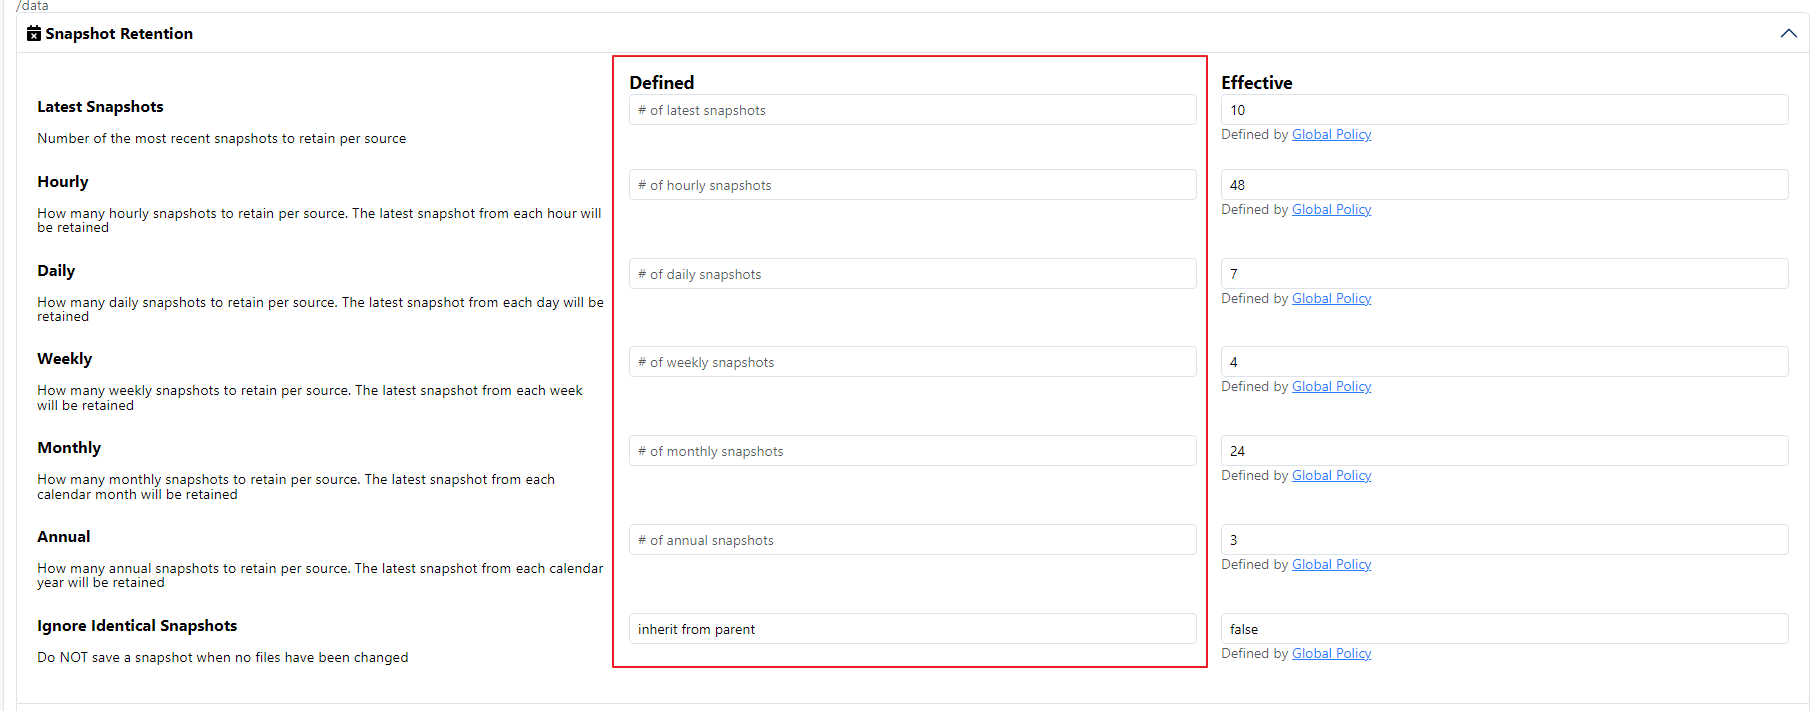
- 개인적으로 Cloudflare R2는 10GB 이하는 평생 무료이기 때문에, 1개의 Snapshot과 1일 백업으로 설정해서 진행했다.
- 정상적으로 백업이 되고 있는 모습을 로그와 함께 볼 수 있다.
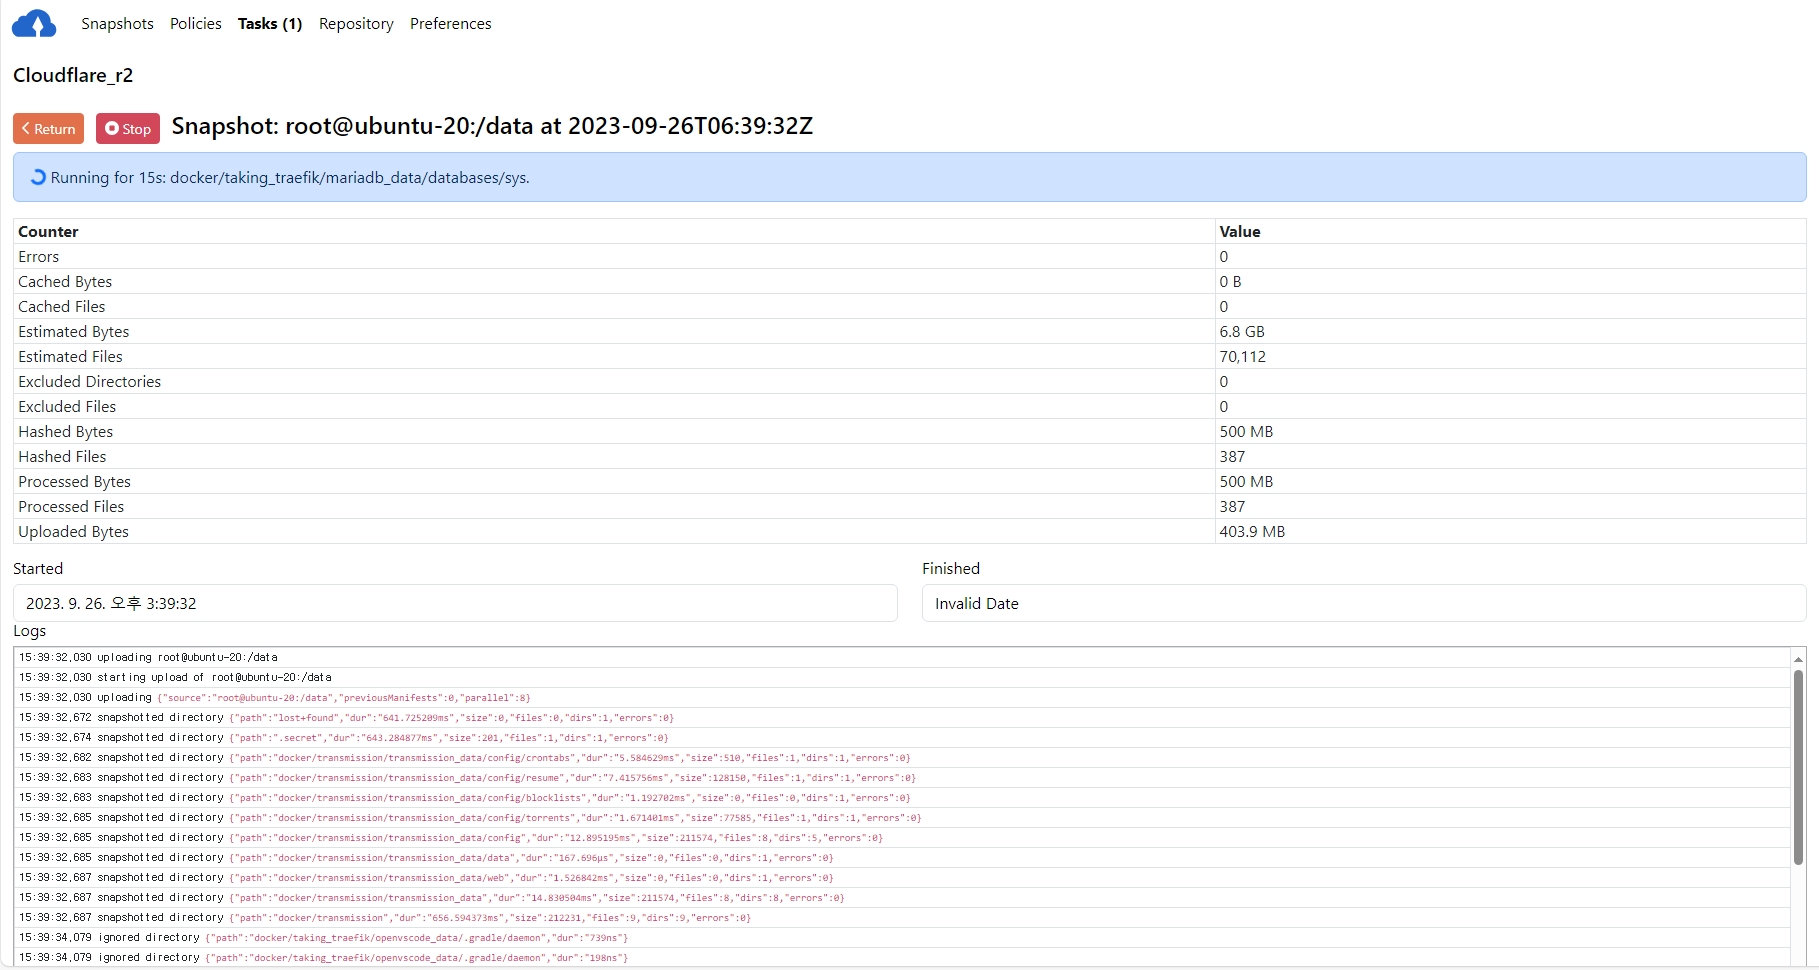
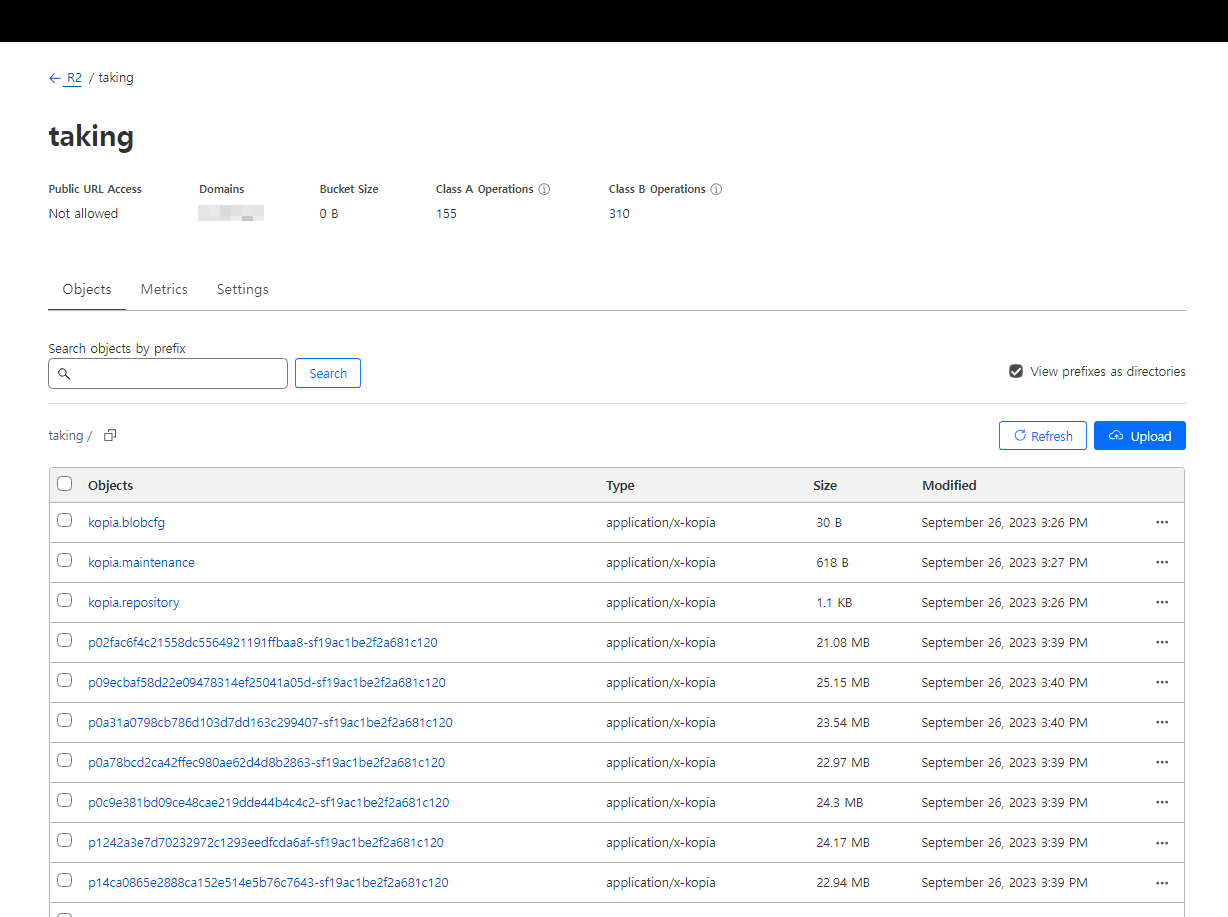
- Cloudflare R2에 본인의 Bucket의 Objects를 확인해보면, Kopia에서 기본적으로 설정된 암호화를 통해 저장이되고 있는 것을 볼 수 있었다.
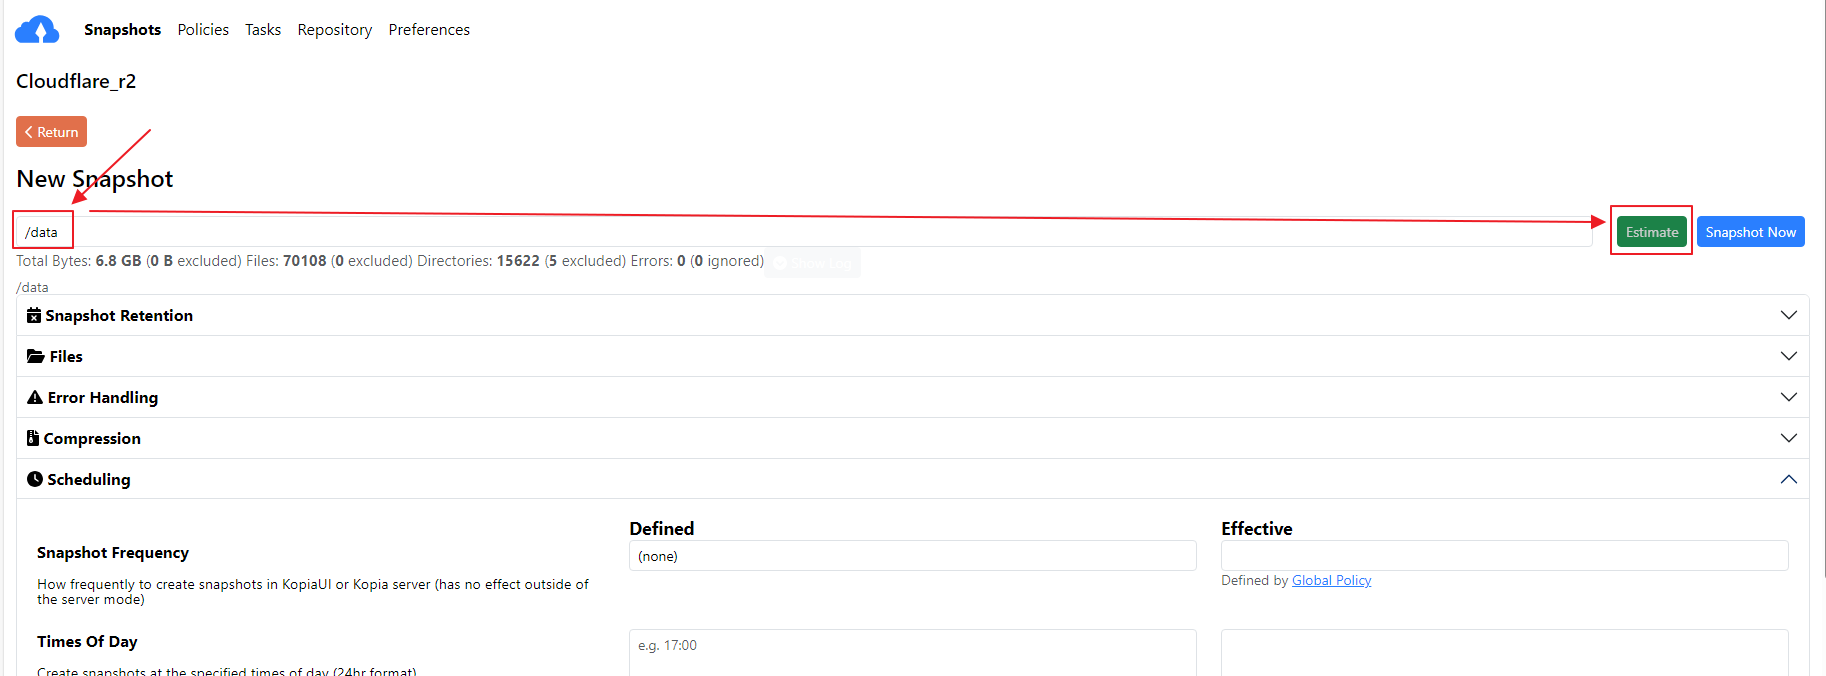
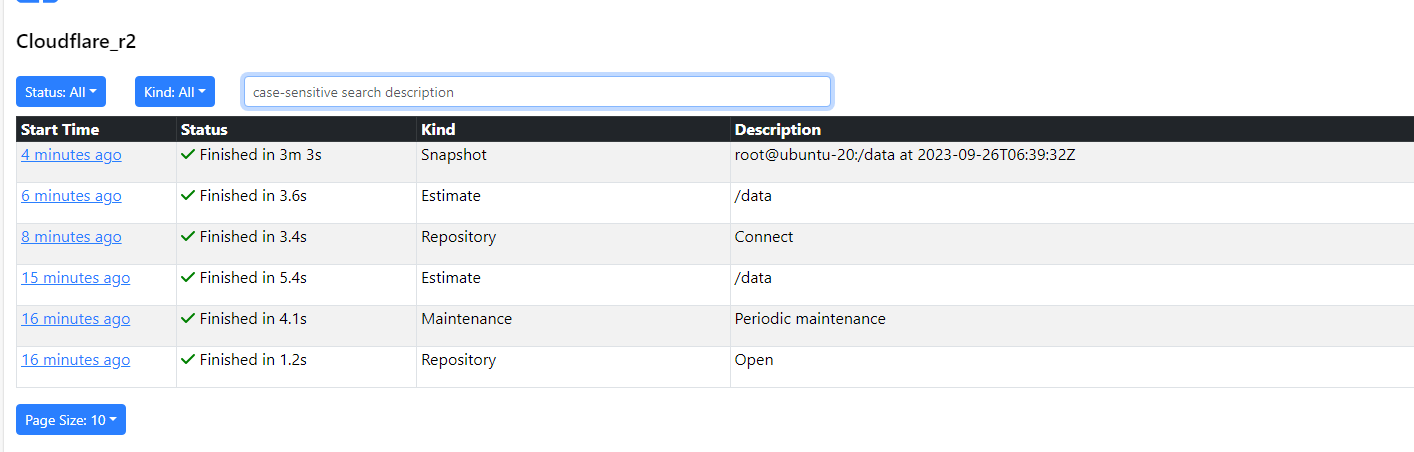
- 6.8GB는 백업에 3분 3초면 충분했다.
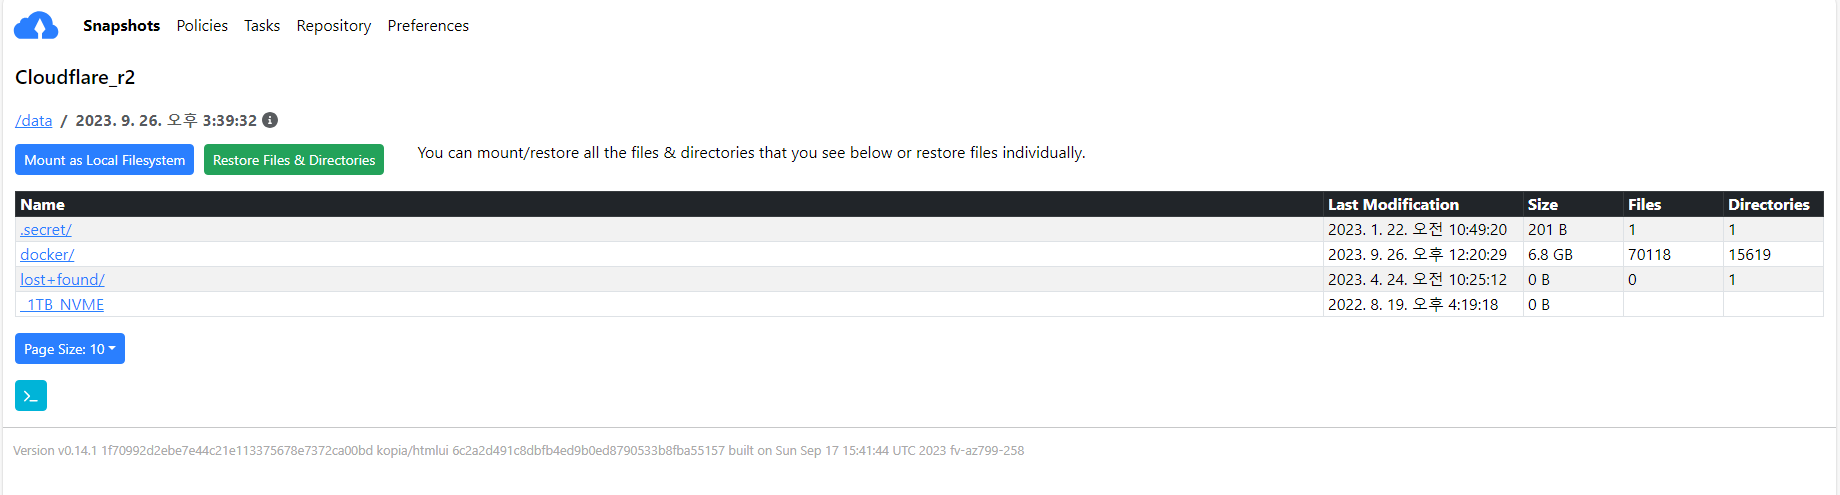
- 백업 자료는 kopia-UI에서 확인 할 수 있다.

댓글