


다음과 같이 설정한다.
10.10.0.1/24 대역과 10.20.0.1/24 대역간 통신이 가능하도록 설정한다.
# network interface settings; autogenerated
# Please do NOT modify this file directly, unless you know what
# you're doing.
#
# If you want to manage parts of the network configuration manually,
# please utilize the 'source' or 'source-directory' directives to do
# so.
# PVE will preserve these directives, but will NOT read its network
# configuration from sourced files, so do not attempt to move any of
# the PVE managed interfaces into external files!

auto lo
iface lo inet loopback

iface enp4s0 inet manual

auto vmbr0
iface vmbr0 inet static
        address 192.168.0.100/24
        gateway 192.168.0.1
        bridge-ports enp4s0
        bridge-stp off
        bridge-fd 0

auto vmbr1
iface vmbr1 inet static
        address 10.10.0.1/24
        bridge-ports none
        bridge-stp off
        bridge-fd 0

        post-up echo 1 > /proc/sys/net/ipv4/ip_forward
        post-up   iptables -t nat -A POSTROUTING -s '10.10.0.0/24' -o vmbr0 -j MASQUERADE
        post-down iptables -t nat -D POSTROUTING -s '10.10.0.0/24' -o vmbr0 -j MASQUERADE

auto vmbr2
iface vmbr2 inet static
        address 10.20.0.1/24
        bridge-ports none
        bridge-stp off
        bridge-fd 0

        post-up echo 1 > /proc/sys/net/ipv4/ip_forward
        post-up   iptables -t nat -A POSTROUTING -s '10.20.0.0/24' -o vmbr0 -j MASQUERADE
        post-down iptables -t nat -D POSTROUTING -s '10.20.0.0/24' -o vmbr0 -j MASQUERADE
/etc/network/interfaces
네트워크를 재시작해줘야한다.
현재 켜져있는 VM 네트워크에 영향이 있기 때문에 정상적으로 종료 후 진행한다.
systemctl restart networking네트워크 재시작
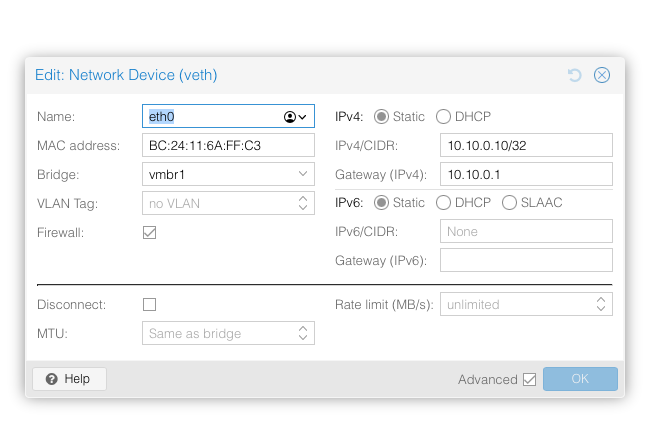
다만 Bridge 네트워크에는 dhcp가 없기 때문에 수동으로 IP 를 설정해줘야한다.
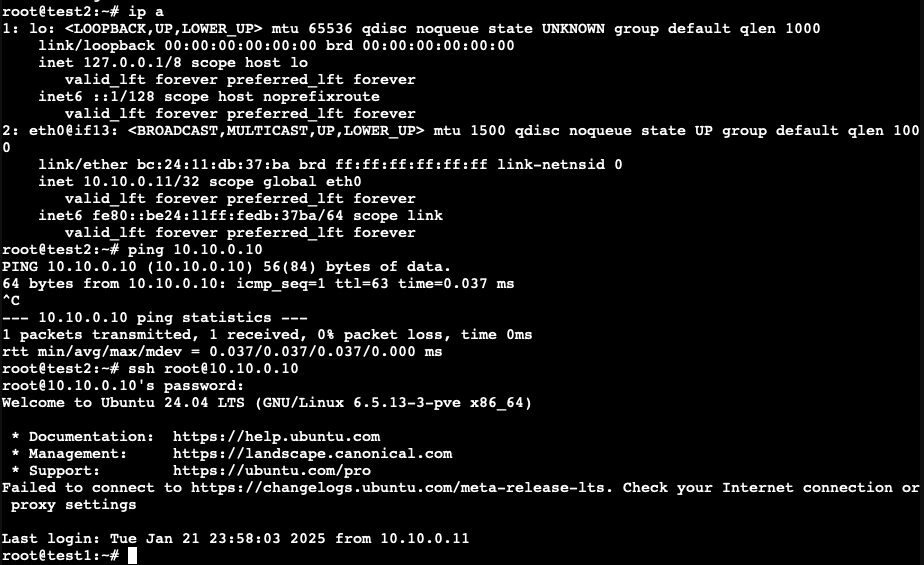
10.10.0.11 → 10.10.0.10 과의 통신 그리고 ssh 접속까지 정상적으로 되는 것을 볼 수 있다.
10.10.0.0 ↔ 10.20.0.0 대역간의 통신이 가능하게 하려면 별도로 추가과정이 필요하다.

댓글